Tuesday, November 5, 2024
How to Make a Wooden Utensil Holder: Organize Your Kitchen
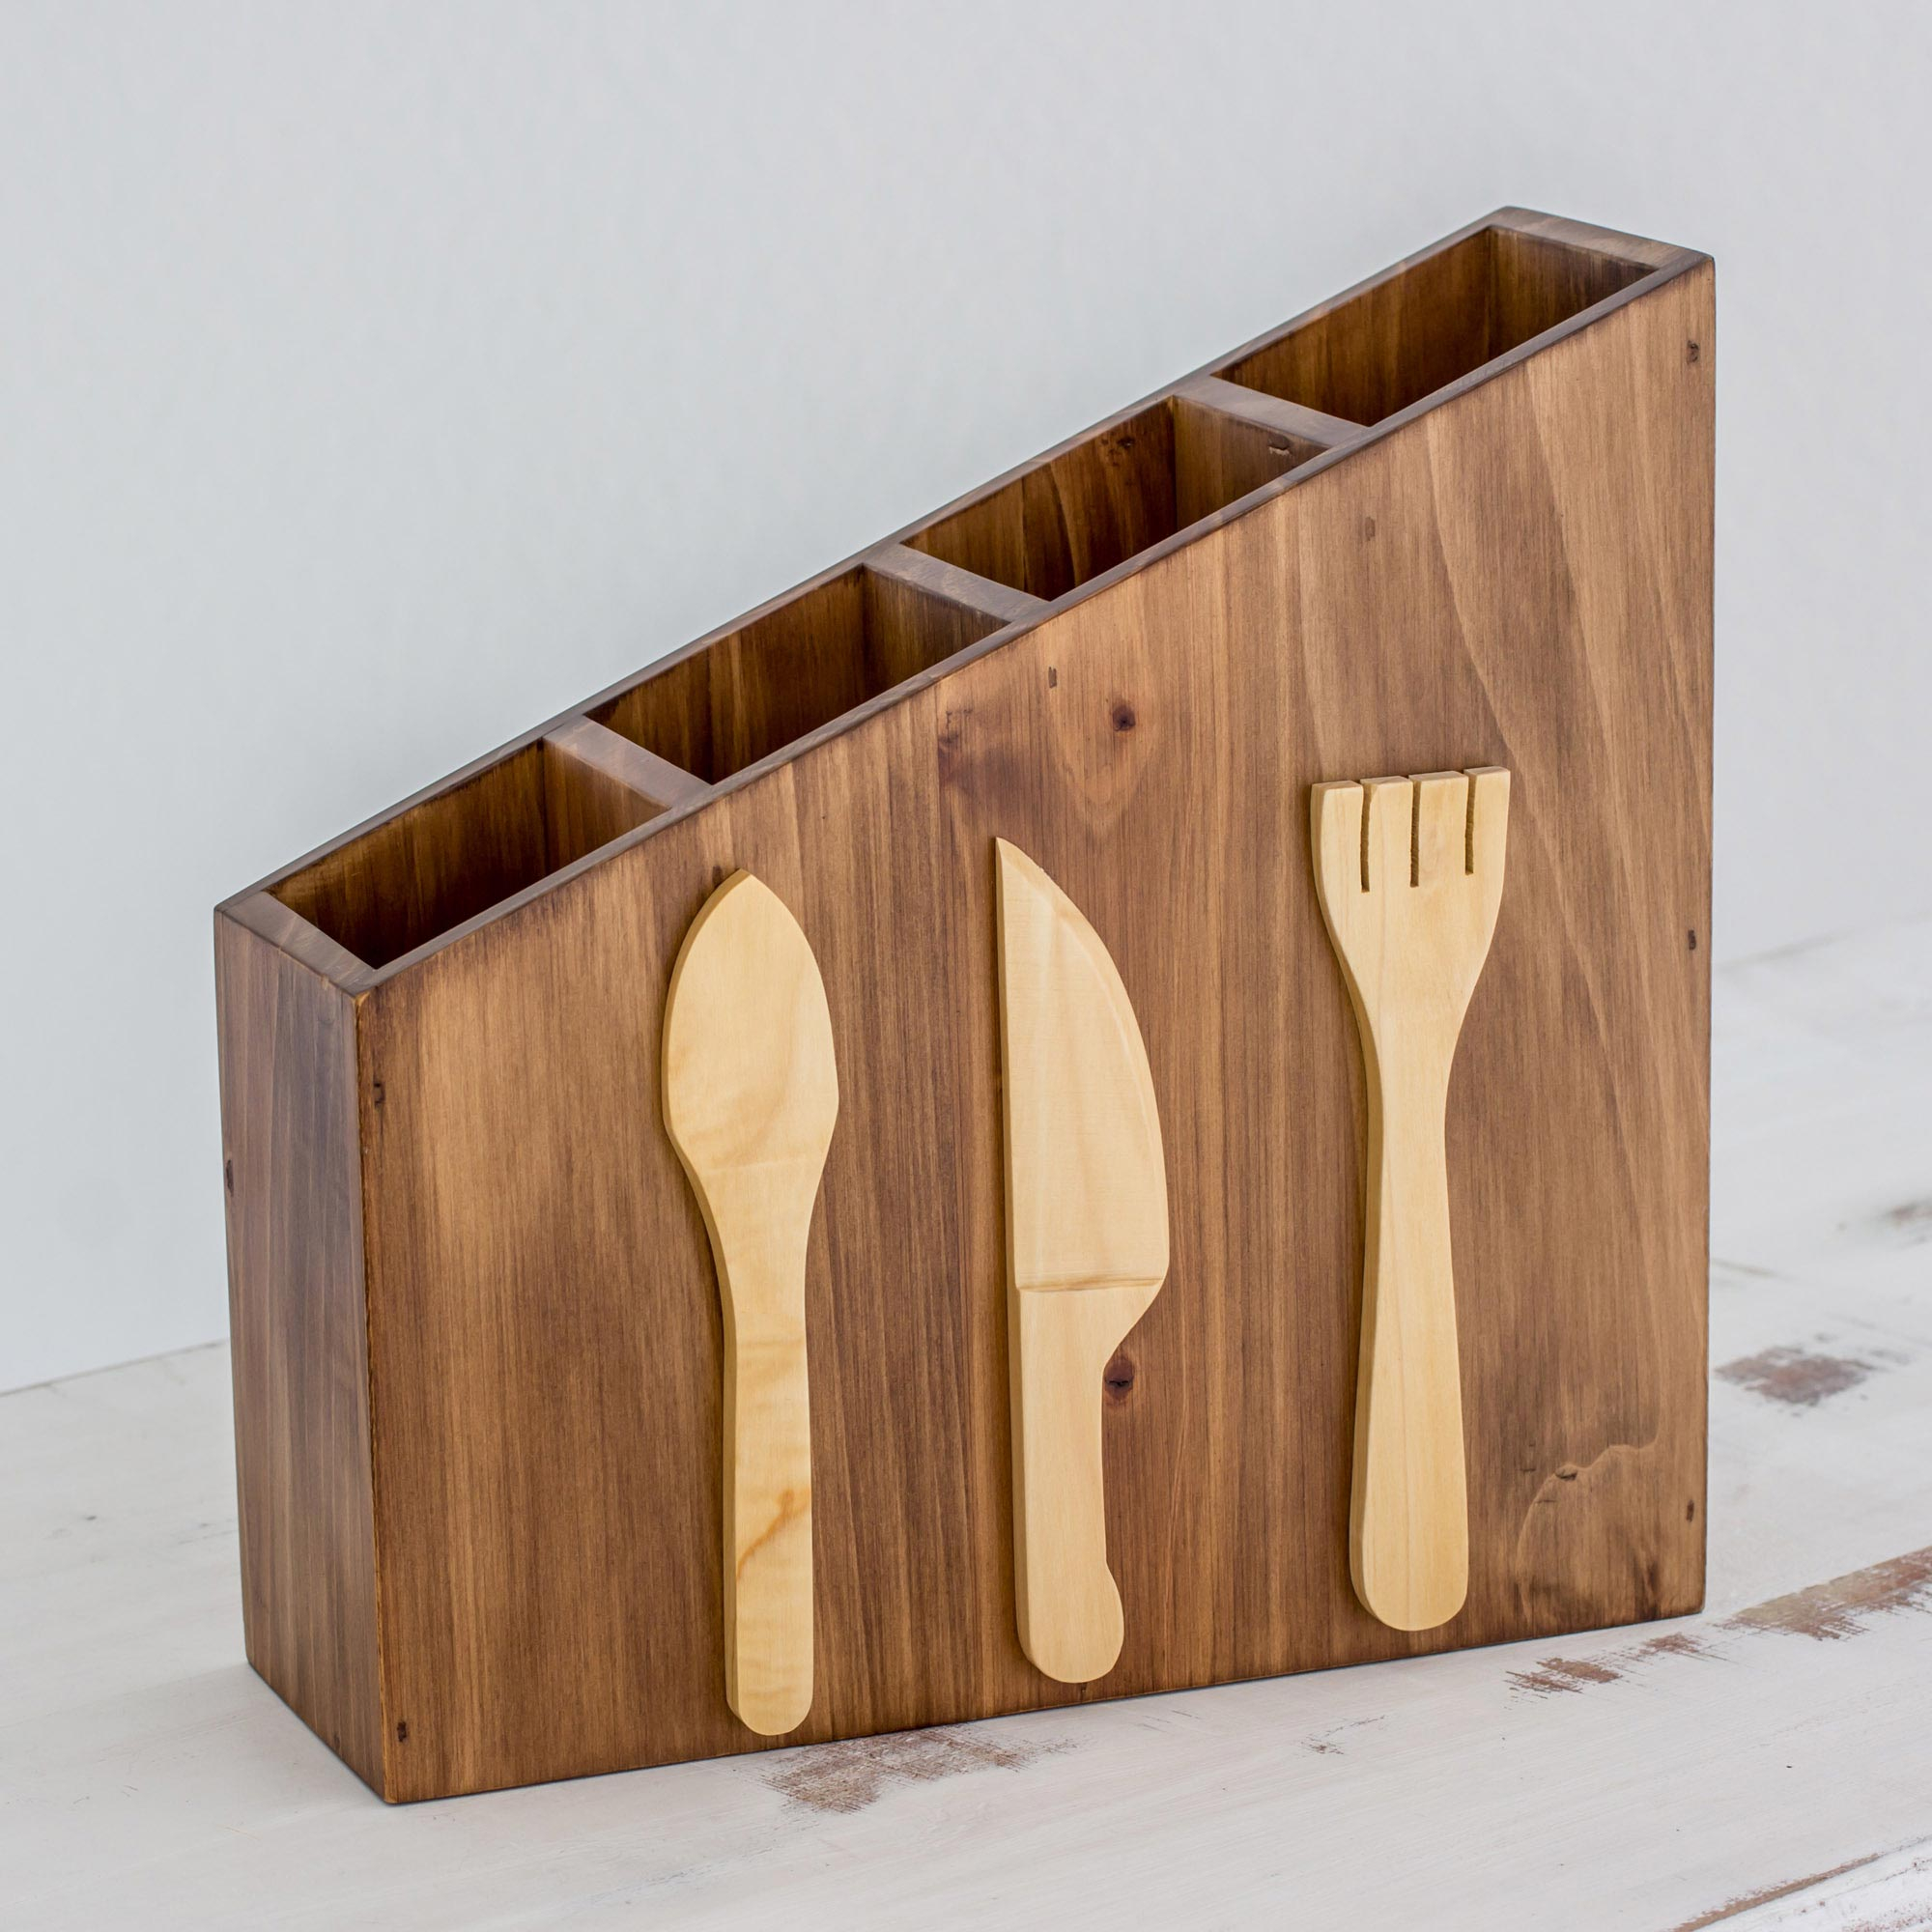

Tired of cluttered kitchen counters? A stylish and functional wooden utensil holder is the perfect solution. Here's how to make one yourself:
Materials:
Wood: Choose a durable hardwood like oak, maple, or walnut. You'll need a piece at least 6" wide, 12" long, and 1" thick.
Wood glue: For a strong and secure bond.
Wood stain or paint (optional): To add color and finish.
Wood sealer (optional): To protect the wood and make it water-resistant.
Saw: To cut the wood to size.
Sandpaper: Various grits for smoothing the wood.
Drill: With a drill bit slightly smaller than the diameter of the dowels.
Dowels: About 1/2" diameter and 6" long, or a smaller size if desired. You'll need at least 4.
Clamps: For securing the wood while gluing.
Measuring tape and pencil: For marking the wood.
Steps:
1. Cut the wood to size: Measure and mark the wood to your desired dimensions for the base of the utensil holder. Using a saw, cut the wood to shape.
2. Sand the wood: Sand the wood with coarse-grit sandpaper to remove any rough edges and splinters. Gradually move to finer grit sandpaper to achieve a smooth finish.
3. Mark and drill dowel holes: Decide where you want to place your dowels for holding utensils. Mark these spots on the wood base with a pencil. Using a drill, carefully drill holes at the marked points, ensuring the holes are slightly smaller than the diameter of the dowels.
4. Assemble the dowels: Place the dowels into the drilled holes. You can choose to secure them with wood glue for extra stability.
5. Finish the wood (optional): Apply wood stain or paint to the base of the utensil holder for a desired color. Allow the stain or paint to dry completely before proceeding.
6. Seal the wood (optional): Apply a wood sealer to protect the wood from water damage and spills. This also enhances the durability and adds a protective layer.
7. Let dry and enjoy! Allow the wood to dry completely before placing your utensils in the holder. You can now enjoy your beautiful and practical wooden utensil holder!
Tips:
Consider the design: You can create different shapes and sizes for your utensil holder based on your preferences and the space available.
Decorate with wood burning: Add a decorative touch by carving or burning designs onto the wood.
Use reclaimed wood: This is a great way to repurpose old wood and create a unique and sustainable holder.
Get creative: Don't be afraid to experiment with different materials and designs.
Making a wooden utensil holder is a fun and rewarding DIY project. With a bit of creativity and some basic woodworking skills, you can create a beautiful and functional piece that will add a touch of warmth and elegance to your kitchen.
No comments:
Post a Comment