Tuesday, November 5, 2024
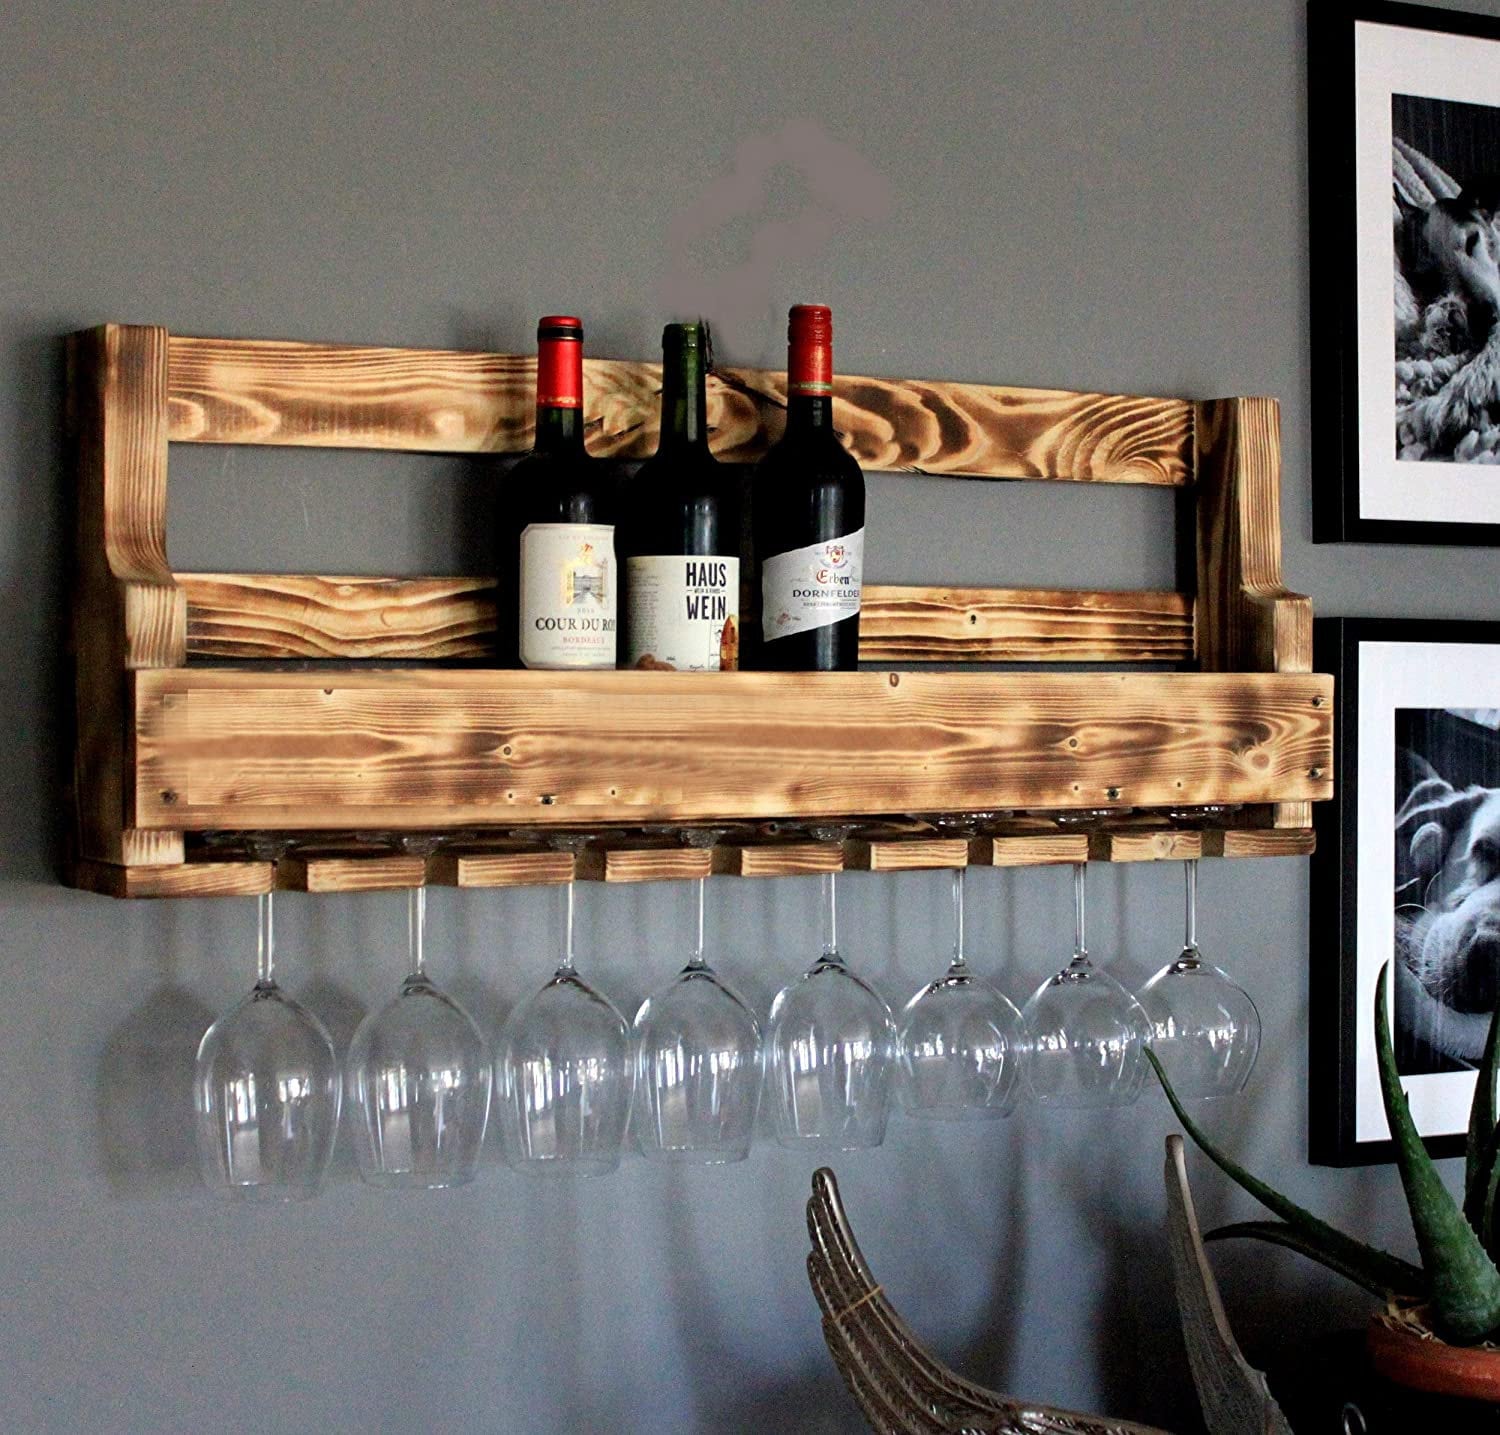
Build a Wooden Wine Glass Holder: Elegant Addition to Your Bar


This guide will walk you through building a stylish and functional wooden wine glass holder that will elevate your bar setup.
Materials:
Wood:
1 x 6" (or similar size) piece of hardwood (e.g., oak, maple, walnut) - at least 2 feet long
1/2" thick plywood (or similar) for the base - size depends on your desired holder dimensions
Hardware:
Wood glue
Wood screws (2.5" long or longer)
Wood stain (optional)
Wood finish (optional)
Drill and drill bits (appropriate for screws)
Tools:
Miter saw or circular saw
Measuring tape
Pencil
Jigsaw (optional, for shaping the top)
Sandpaper (various grits)
Clamps
Safety goggles
Dust mask
Steps:
1. Plan your design: Determine the size and shape of your holder. You can create a simple rectangular shape or get more creative with a rounded design.
2. Cut the wood: Using your saw, cut the hardwood to your desired length. For the base, cut a piece of plywood to fit the width of your holder.
3. Shape the top: If desired, use a jigsaw to shape the top of the hardwood piece to create a more elegant look. You can create a rounded, curved, or even a decorative pattern.
4. Mark and drill holes: Measure and mark the positions for the glass holders on the hardwood piece. Drill pilot holes for the screws, ensuring they are deep enough to accommodate the screws without splitting the wood.
5. Assemble the holder:
Apply wood glue to the bottom of the hardwood piece and place it on the plywood base.
Securely clamp the two pieces together until the glue dries.
Once the glue is dry, screw the hardwood piece to the base using the pilot holes you drilled.
6. Sand the holder: Use sandpaper to smooth out any rough edges or imperfections. Start with coarser grit sandpaper and gradually progress to finer grits for a smooth finish.
7. Finish (optional):
Stain the wood to enhance its natural beauty.
Apply a clear finish (e.g., polyurethane) to protect the wood and enhance its shine.
8. Let the finish dry: Allow the stain and finish to dry completely before using your wine glass holder.
Tips:
Experiment with different woods: Use various types of hardwood to create unique and contrasting looks.
Consider adding embellishments: Decorate the holder with decorative hardware, engraved details, or even burned designs for a personalized touch.
Vary the shape: Create different shapes and sizes to hold different types of wine glasses, like stemless or large wine glasses.
Safety Precautions:
Wear safety goggles and a dust mask when using power tools and sanding.
Ensure your work area is clean and well-lit.
Use caution when using sharp tools and always follow the manufacturer's instructions for each tool.
By following this guide, you can create a beautiful and functional wooden wine glass holder that will add a touch of elegance to your bar or dining area. Enjoy!
No comments:
Post a Comment