Tuesday, November 5, 2024
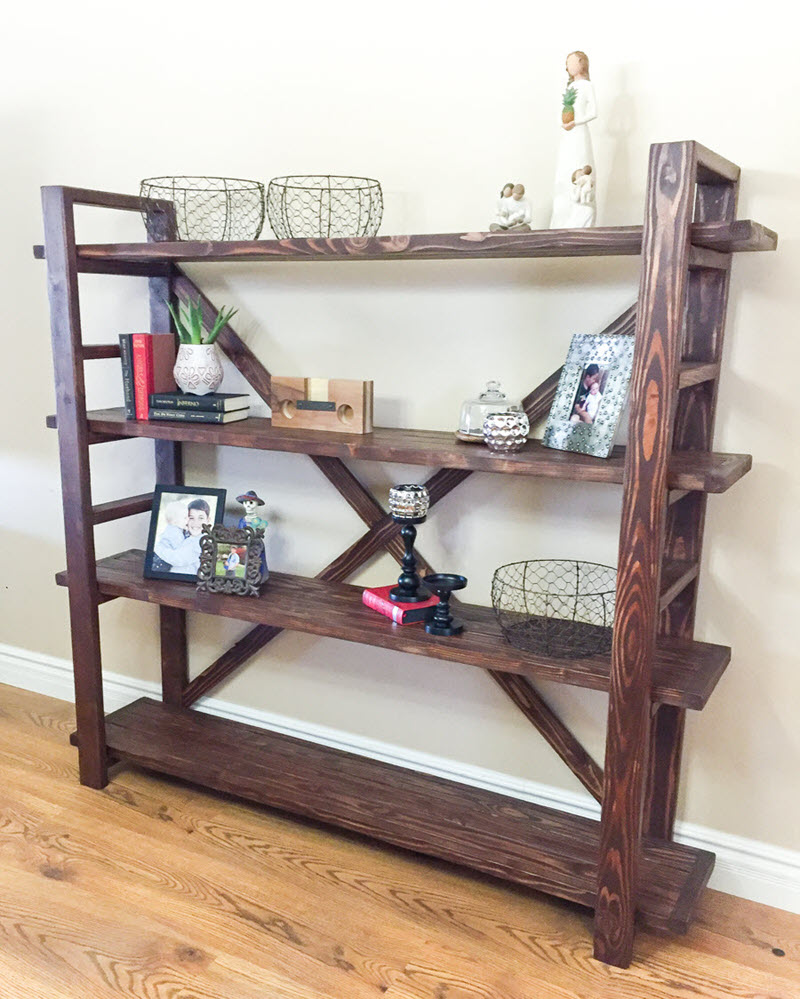
Build a Wooden Bookshelf: Showcase Your Book Collection


This guide will walk you through the process of building a simple yet elegant wooden bookshelf to showcase your book collection.
Materials:
Wood:
Shelves: 3/4" thick plywood or solid wood boards (consider using walnut, oak, or maple for a more luxurious look)
Sides: 1x4" or 1x6" lumber (depending on desired depth)
Top and Bottom: 1x6" or 1x8" lumber (for a sturdy base)
Back: 1/4" plywood or thin beadboard (optional)
Fasteners:
Wood glue
1 1/4" or 1 1/2" wood screws
Finish nails (optional)
Hardware:
Shelf supports (metal brackets or wooden shelf pins)
Corner braces (optional)
Finish:
Wood stain (optional)
Wood sealant (optional)
Tools:
Tape measure
Pencil
Circular saw or miter saw
Drill
Screwdriver
Sander
Clamps
Level
Hammer
Steps:
1. Design & Measurements:
Decide on the size and style: Determine the length, width, and height of the bookshelf. Consider how much space you have and the size of your book collection.
Sketch a plan: Draw a simple diagram outlining the dimensions of the shelf, the number of shelves, and the overall construction. This will help you visualize the final product and ensure you cut the right amount of wood.
2. Cutting the Wood:
Cut the sides: Using a circular saw or miter saw, cut two pieces of wood to the desired height of your bookshelf.
Cut the shelves: Cut the shelves to the desired length. You will need to cut one shelf for each level you want in your bookshelf.
Cut the top and bottom: Cut the top and bottom pieces of wood to the desired length.
Cut the back (optional): If you're adding a back, cut a piece of plywood or beadboard to fit the dimensions of the bookshelf.
3. Assembly:
Attach the sides: Lay the bottom piece of wood flat on a work surface. Use wood glue and screws to attach the sides to the bottom piece.
Attach the shelves: Use shelf supports or shelf pins to attach the shelves to the sides. Ensure each shelf is level and securely attached.
Attach the top: Use wood glue and screws to attach the top piece to the sides and the shelves.
Attach the back (optional): If you're adding a back, use finish nails or staples to attach it to the sides and shelves.
4. Finishing Touches:
Sand: Sand the entire bookshelf with progressively finer grits of sandpaper to smooth out any rough edges and create a smooth finish.
Stain (optional): Apply a wood stain to enhance the natural color of the wood or give it a custom color.
Seal (optional): Apply a sealant to protect the wood from scratches, moisture, and UV damage.
Corner braces (optional): Attach corner braces for extra stability, especially for large or heavy bookshelves.
Tips:
Pre-drill holes: Before screwing into the wood, pre-drill holes slightly smaller than the screw diameter to prevent wood from splitting.
Use clamps: Clamp the pieces of wood together while using glue and screws to ensure a strong bond.
Double-check measurements: Ensure all cuts are made precisely to ensure a perfect fit.
Consider shelf depth: Choose a shelf depth that accommodates your book collection and provides enough space for larger volumes.
Add a personal touch: Incorporate decorative details such as molding, trim, or unique hardware to make your bookshelf unique.
Enjoy Your New Bookshelf:
Once your bookshelf is complete, arrange your books and admire your newly built and personalized display! Remember, this is just a basic guide. Feel free to customize the design and materials to create a bookshelf that perfectly fits your needs and style.
No comments:
Post a Comment